Today I am covering my next brew day, brewing of an Italian Pilsner. This recipe is a conglomeration of several recipes I found on the internet. I picked various ingredients from these recipes to form my own Italian Pilsner using malts and hops I thought would go good together
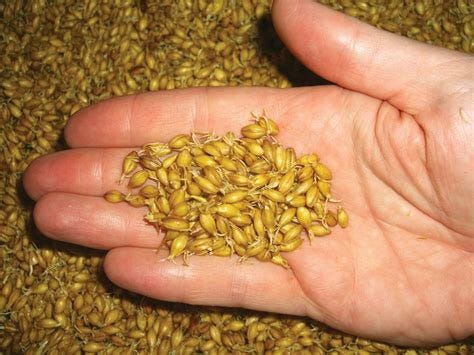
7.5 Lb Eraclea Pilsner Malt
1/2 lb Mecca Grade Metolius Malt
3 oz Acidulated Malt
Grind all this with your own grinder or buy it alreay milled. I mill my own as I buy 30-40 lbs of malt at a time and it keeps better unmilled. Setting on the mill is - the thickness of a credit card to make it easy.
7 gallons Reverse Osmosis water - I live on a farm and have extremely hard well water. This water will work for dark beers and heavier beers.Light delicate beers not so much.
Water profile: Ca: 12, Mg: 3, Na: 9, SO4: 13, Cl: 21, HCO3: 23 To get to this I add
1 gram Epsom salt
1 gram Calcium Chloride
1 gram of baking soda
Since this is a light bodied beer I will be using a step mash
50c/122f for 30 minutes - mash in, I put my brew bag in , clamp it so it is off the bottom and slowly stir the milled grains in breakingup any dugh balls.
64c/148f for 30-40minutes
75c/165f for 10 minutes - Mash out
Then the bag is pulled out of the water and left to drip wort back into the kettle. I also squeeze the bag to wring out more wort.
Then onto the boil and adding hops
s
60 minute boil
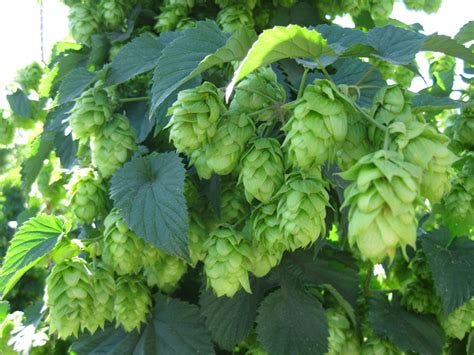
1 oz Perle hops - 60 minutes
1 oz Perle hops -15 minutes
Yeast Nutrient 1 tsp per gallon 10 minutes left in the boil
at 10 minutes left drop cooling coil - immersion chiller into kettle to sterilize, hook up garden hoses for cool water and waste/hot water
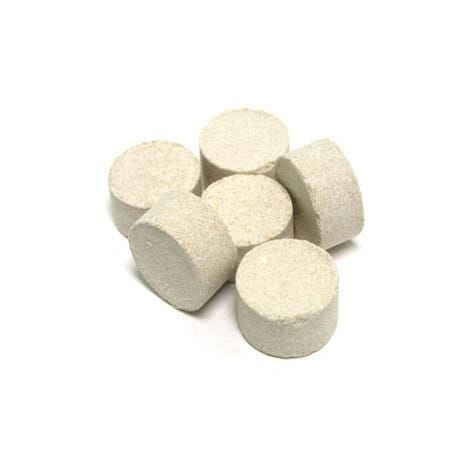
Whirlfloc 1 tablet 10 minutes left in the boil
1 oz saphir hops at flame out or after the burner is shut off
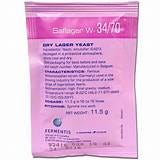
cool to 70 degrees and pitch 1 packet of Fermentis 34/70 yeast
ferment at 65-68f for 10 days. At day 5 dry hop 1.5 oz Saphir hops.
To dry hop you put the hops in a bag with a magnet and have a magnet on the outside put the hop bag on the underside of the lid and the other magnet on the top/outside of the lid. At end of day 5 pull top magnet off allowing your inside bag to fall into the wort. You do not open the fermenter as you do not want wild bacteria to enter the fermenter.
OG 1.051
FG 1.009
Weyerman Earclea Pilsner Malt
Is a Adriatic Coastal two row barley, cultivated in the region around the city of Eraclea, close to Venice. This aromatic malt provides the perfect base for crisp, aromatic and Mediterranean beers. The malt is characterized by good processability, good yield as well as excellent foam values.
Sensory: malty-sweet with light honey notes.
Terroir malt for crisp tasting beer styles, typically for:
Pale Lager; Mediterranean Style Lager, Mediterranean Style Pilsener, Italian Lager, American Lager
Pilsener; German Pilsener, Pre-Prohibition Lager
Italian Beer Styles; Italian Grape Ale
Mecca Grade Metolius Malt
Metolius (pronounced - \met·OLE·ee·us\) - imparts a robust and warming malt profile that tastes exactly like a liquid, toasted, graham cracker. Metolius is a munich-style malt produces a deep orange & brown color
Acidulated Malt
Acidulated Malt, is an adjunct grain that possesses a notable ability to shape the flavor profile of beer. This malt introduces a gentle tanginess or sour note. Acidulated Malt is utilized in small quantities to fine-tune pH levels during mashing or sparging procedures.
Perle Hops
Flavor profile
Spice
Pepper
Earthy and woody notes
Floral aroma
Tea
Green fruit
Perle is used not only for bittering but also as a aroma/flavor hops. As you can see in my recipe I am using it for both. 60 minute boil hop additions are for bittering. 30, 15, 10 and flame out for aroma and flavor.
Saphir Hops
Is an aroma hop, thus the reason for adding at flame out ( flame out additions add an ever so slight bittering) It has a complex character that is a perfect balance between
Juniper
lemongrass
bergamot
strawberry
black tea
The water additions result in a soft water so the delicate flavors of the malt and hops come through and results in a crisp beer that is very crushable.
Yeast Nutrient
1 tsp per gallon. While wort has most all the nutrients yeast needs adding yeast nutrient to the wort 10 minute before the end of your boil is just insurance that the yeast will thrive. I have found fermentation is more vigoorous.
Whirlfloc
Whirlfloc helps to clarify beer by causing the proteins and yeast cells to clump together and settle out. This results in a brighter, clearer beer that is less likely to cause off-flavors.
Yeast
Fermentis 34/70
Is a dry yeast with a good balance of floral and fruity aromas and gives clean flavors and high drinkable beers.
Step Mash
Their are several reasons for using a step mash vs a single mash. Various enzymes have optimum tempuratures in which they work best. These enymes break down various proteins, starches and other components of the mash. These tempurature changes and holds give the enzymes time to do their wonders to the malts. While a step mash takes longer and requires more baby setting, vs a single mash, it can lead to enhanced beer and brew house efficiencies. Is it worth the time and effort? Remember each step requires time to bring the water up to temp. So it adds an hour or so depending on equipment to your brew day. Yes and no, the difference are subtle for the most part as these new malts are far better than the malts of 10-20 years ago.
Single mashes take less time but are a compromise, between time, brew house efficiency and flavor. Most single mashes run 148-152 f.
Since this is a delicate beer I am going to do a step mash.
Protease / Peptidase
Target range: 46 – 55°C (115 – 131°F)
These two enzymes target protein molecules. A protein rest aids head retention and breaks down protein in malts that are less modified such as pilsner malt. Typically leads to better yields in high adjunct mashes.
Beta-Amylase
Target range: 60 – 65°C (140 – 149°F)
Targets starch and converts to maltose which is the favored sugar for the yeast to ferment. This leads to a more fermentable wort and less residual sweetness in the finished beer.
Alpha-Amylase
Targets starches and breaks them down into a variety of sugars and dextrins. Typically leads to a slightly less fermentable wort and a residual sweetness in the beer or more full-bodied.
Target range: 65 – 71°C (149 – 160°F)
Temperature Critical
One must keep at or slightly 1 or 2 degrees below these steps. Once you get above 156-160 its over, all enzymes effectively quit working. As you can see from the temperature steps above enzymes have a works best temperature much below they don’t start working, much above they quit working. Once you get past 160f virtually all the enzymes quit working.
In closing
Having said all the above, it may look difficult to overwhelming to brew beer. Actually it is very easy, it just takes time, patience and a will to experiment. It can be as easy or hard as you want to make it. Easy is buying a all grain or extract kit - you can make really fine/great beers, already tested and depending upon where you get the kit the instructions make it bullet proof. Coming up with your own water profiles and recipe profiles is the hard way, it takes time, knowledge, a experimenter spirit to try new things and see what happens and most of all admit failure. I have always learned more from failing then winning of playing it safe. Not trying is failure for sure. As I get older and have a little more time on my hands I find I like trying new things, I like to learn, know how things work and why, see if my ideas work.
Not every brew you make will be great, however every brew you make will be YOUR creation, your ingredient choices, something special you made and it will be better than anything you are buying at the store.
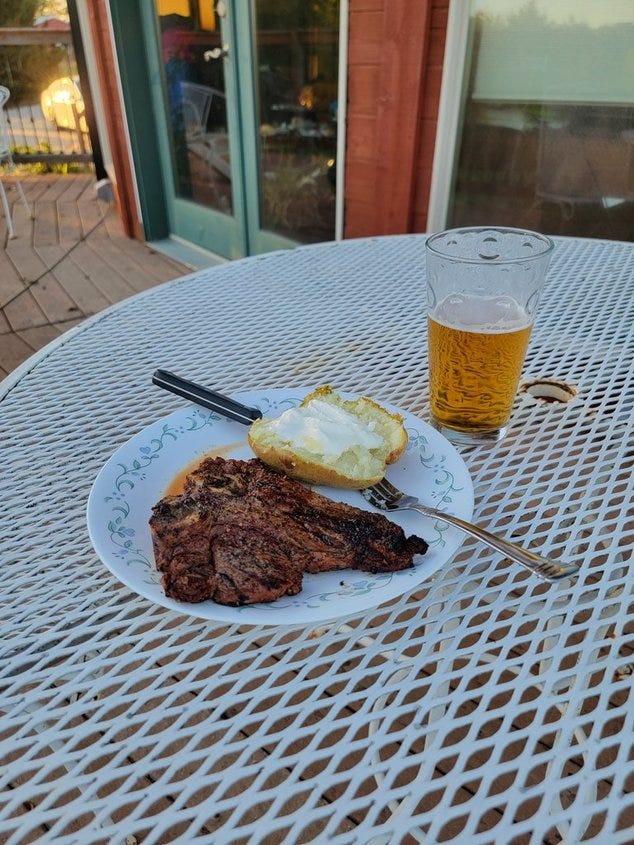
I find it a very satisfying hobby that takes me away from the crazy stuff goings on in the world. Their is nothing like setting on my deck watching the sunset over my cattle and pastures reflecting on my day and what tomorrow brings.
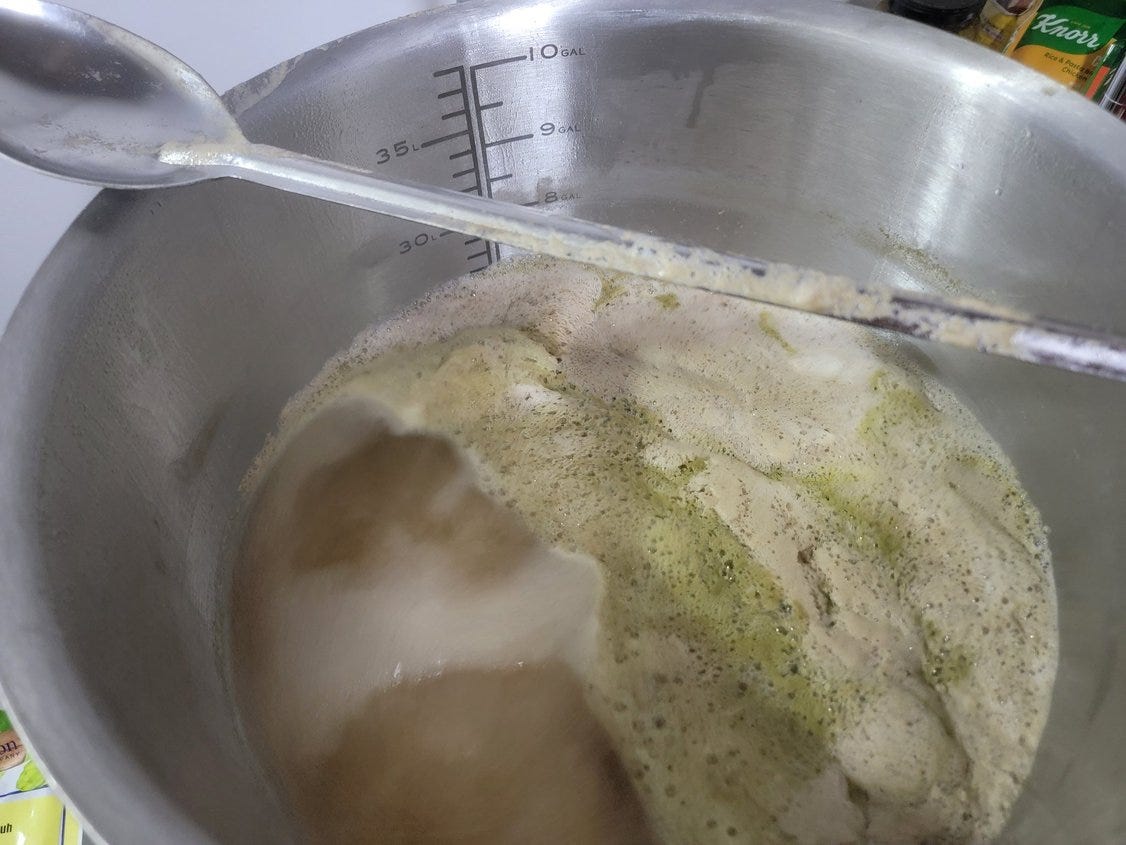
I will report how this Italian Pilsner turned out once I get it brewed and conditioned. The brew bucket pictures above are from my recent Kolsch and Helles brew days.
For a list of the equipment I use click on this link
Not just politics
When I started my substack I said I would cover more than just politics and news of the day. I have many interest, probably too many. Brewing is one such interest. From beer, wine, coffee and one most have probably never heard of or even have had it - hop water. For those not interested in these diversions please read my NOTES, these are re stacks from …








You always have great stuff to share, Martin. :) I enjoy the content and the variety of it. My husband made the chicken water feeder you wrote about in another article. :) Thanks!